
Repair, Don't Replace: Embracing a Fix-It Culture for Your Leather Goods
Americans discard millions of perfectly repairable leather goods annually. A loose stitch, dried leather, or minor surface scratch triggers replacement purchases when simple repairs would restore full functionality. This throwaway mentality wastes money, fills landfills unnecessarily, and ignores leather's fundamental design advantage - products crafted from quality materials specifically enable repair rather than demand disposal.
Learning how to repair leather goods transforms consumer relationships with possessions. Rather than disposable commodities replaced at first sign of wear, properly maintained leather products serve decades through periodic care and occasional repairs. This shift from replacement culture to stewardship culture delivers environmental benefits while building practical skills and deeper connections to everyday items.
DIY leather wallet repair and basic maintenance require minimal investment in tools or expertise. Most common leather problems yield to simple solutions anyone can master with basic guidance. More complex repairs justify professional restoration costs that remain far less than replacement expenses. Either approach - do-it-yourself or professional service - extends product life while reducing waste and preserving investment value.
The Case for Leather Repair Culture
Environmental Benefits of Repair
Waste reduction through extended product life represents repair culture's most significant environmental contribution. Every leather wallet, belt, or bag maintained through repairs avoids landfill contribution while preventing the manufacturing impact, transportation emissions, and resource consumption that replacement cycles generate. These avoided impacts compound dramatically over product lifetimes.
A repaired wallet serving 25 years instead of being replaced after 5 years prevents four additional manufacturing cycles. Each avoided manufacturing event saves raw materials (leather, thread, hardware), processing energy (cutting, stitching, finishing), packaging materials, and transportation fuel. Multiplied across millions of consumers, repair culture's aggregate environmental benefits prove substantial.
Resource conservation through maintenance operates on simple principles - products that don't fail don't require replacement resources. Conditioning leather prevents cracking that might otherwise necessitate replacement. Restitching loose seams maintains functionality avoiding disposal. These modest interventions preserve original materials while avoiding extraction and processing of new resources.
Economic Advantages
Repair costs versus replacement costs demonstrate repair culture's economic wisdom clearly. A quality leather belt purchased for $120 might require $30 in professional restoration after 15 years of use. Total investment equals $150 for 25+ years of service. Replacing that belt with equivalent quality alternatives every 5 years costs $600 over 25 years - four times the repair approach expense.
Investment protection through maintenance proves particularly important for quality leather goods. Premium wallets and accessories represent significant initial investments justified by multi-decade service lives. Basic maintenance and occasional repairs protect these investments, ensuring products deliver expected longevity rather than failing prematurely through neglect.
Value preservation extends beyond financial considerations to emotional attachment and product character. Well-maintained leather develops beautiful patina reflecting years of use. Repairs add history rather than diminishing value - visible stitching repairs or refinished edges become part of the product's story, creating unique character impossible to replicate in new items.
Psychological Rewards
Satisfaction from hands-on fixing provides genuine fulfillment often missing from modern consumer experiences. Successfully restitching a loose seam or restoring dried leather delivers accomplishment feelings that passive consumption cannot match. This satisfaction strengthens during use as repaired products continue serving reliably.
Deeper connection to possessions develops through repair engagement. Understanding how products are constructed, recognizing wear patterns, and applying care techniques creates relationships transcending simple ownership. These connections encourage continued maintenance and long-term stewardship rather than casual disposal when problems arise.
Skills development and self-reliance build confidence transferable beyond leather repair. Learning how to repair leather goods teaches general problem-solving, hand skills, and maintenance principles applicable across product categories. These capabilities reduce dependence on professional services while enabling more sustainable consumption patterns throughout life.
Assessing Leather Damage: What's Fixable
Common Leather Problems
Surface scratches and scuffs represent the most common leather damage requiring attention. Light scratches often respond to simple buffing or conditioning, while deeper gouges may require more intensive treatment. Understanding scratch severity determines appropriate repair approaches - many superficial marks actually enhance character rather than requiring intervention.
Dried or cracked leather results from insufficient conditioning or environmental exposure. Early-stage dryness reverses through conditioning, while advanced cracking may require professional restoration or prove irreparable. Regular maintenance prevents this progression, making dryness one of the most preventable leather problems.
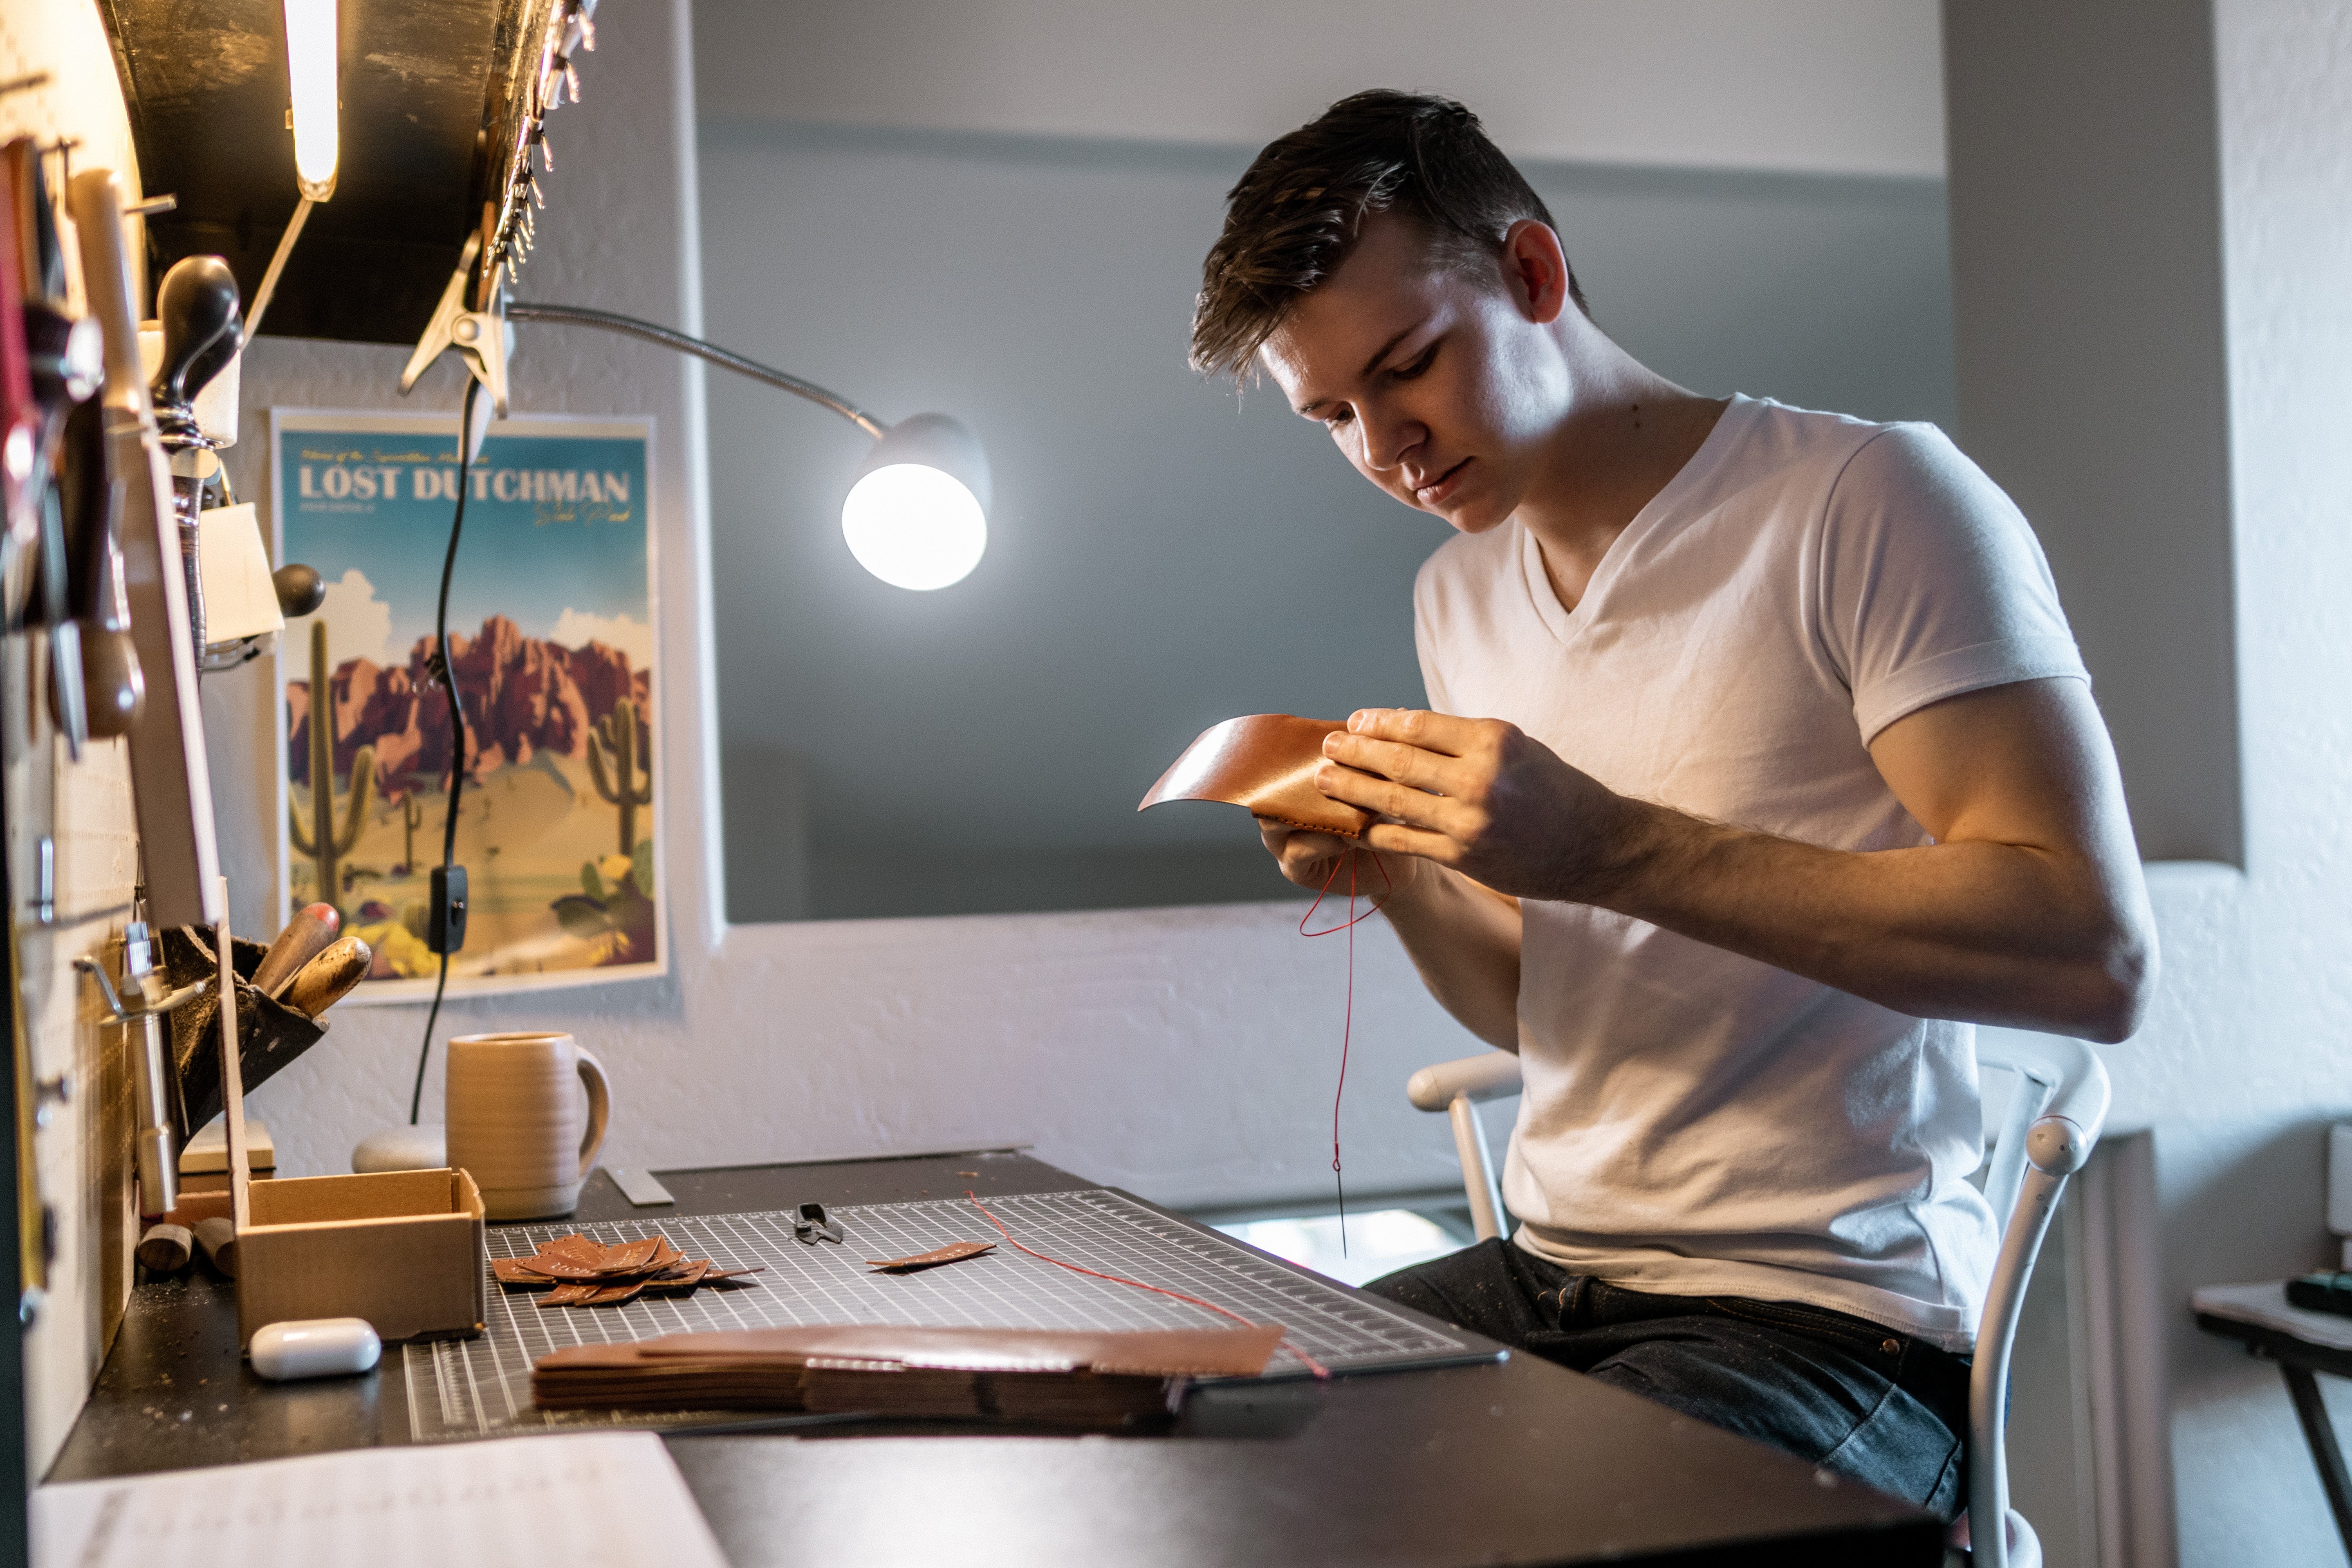
Loose or broken stitching threatens functionality but typically proves straightforward to repair. Hand-stitched construction using saddle stitch techniques enables selective repair without compromising surrounding seams. Machine stitching presents greater challenges - single thread breaks can cascade, potentially requiring complete reconstruction.
Hardware issues and failures include broken snaps, loose rivets, oxidized buckles, and failing closures. Hardware replacement represents relatively simple repairs when components are accessible and standard sizes enable sourcing replacements. Custom or integrated hardware may require professional intervention or prove irreplaceable, potentially necessitating creative solutions.
When to DIY vs Seek Professional Help
Simple repairs suitable for beginners include conditioning dried leather, buffing minor scratches, applying edge dressing, replacing accessible hardware, and restitching small sections of loose hand-stitching. These repairs require minimal tools, tolerate imperfection, and build skills without risking product destruction. DIY leather wallet repair often falls into this category, making it ideal for developing repair confidence.
Complex restoration requiring professional expertise includes structural repairs, panel replacement, complete reconstruction, dye matching, and repairs to unusual leather types. These services require specialized tools, extensive experience, and skills developed over years. Attempting complex repairs without adequate expertise risks irreversible damage exceeding original problems.
Cost-benefit analysis guides repair decisions practically. For minor issues on quality leather belts worth $100-200, DIY repairs costing $10-20 in materials make obvious sense. For major structural damage requiring $80 professional restoration on a $150 product, repair remains worthwhile. However, extensive restoration costing $100+ on a $50 product rarely justifies expense versus replacement.
Essential Tools and Materials for Leather Repair
Basic Repair Kit Components
Leather conditioner and care products form the foundation of any repair toolkit. Quality conditioners containing natural oils (neatsfoot oil, mink oil, or beeswax-based formulations) restore moisture and flexibility to dried leather. Avoid conditioners with petroleum distillates or silicones potentially damaging leather long-term. Budget $15-30 for quality conditioning products lasting years.
Needles, thread, and awl enable basic stitching repairs. Harness needles with blunt points work best for leather - sizes 2-4 handle most repair situations. Waxed polyester thread in natural or brown colors matches most leather goods. An awl creates holes for stitching when working with thick leather. This basic stitching kit costs approximately $20-40.
Edge treatment materials restore worn edges and protect against future damage. Edge bevelers smooth rough edges, burnishing tools (or bone folders) create polished finishes, and commercial edge dressings provide color and protection. These tools and materials total $25-50, though some items prove optional for basic repairs.
Cleaning supplies prepare leather for conditioning or repair. Saddle soap or specialized leather cleaners remove dirt and oils without damaging material. Soft cloths, brushes, and applicators complete the cleaning toolkit. Basic cleaning supplies cost $10-20 and last years with regular use.
Optional Advanced Tools
Stitching chisels and pricking irons create uniform stitch holes enabling professional-looking hand-stitching. These tools prove valuable for extensive stitching repairs or leatherworking projects beyond basic maintenance. Quality sets cost $40-100 depending on size and manufacturer but aren't necessary for simple repairs.
Bevelers and edge slickers produce refined edge finishes matching factory-quality work. While optional for functional repairs, these tools enable aesthetic refinement satisfying to craftspeople developing advanced skills. Budget $30-80 for quality edge-working tools if pursuing this aspect of leather repair.
Dyes and finishing products enable color restoration or modification. Leather dyes, sealers, and finishes allow comprehensive restoration work but require practice preventing uneven application. These materials cost $40-100 for basic color ranges and typically exceed beginner repair needs.
Specialized adhesives bond leather components when stitching alone proves insufficient. Contact cement, leather-specific glues, and edge adhesives serve different purposes. While occasionally useful, adhesives shouldn't replace proper stitching in structural repairs. Quality leather adhesives cost $10-30 per container.
DIY Repair Technique #1: Conditioning Dry Leather
Understanding Leather Dryness
Moisture loss causes leather dryness through several mechanisms. Environmental exposure - low humidity, heat, or UV radiation - draws natural oils from leather fibers. Extended storage without conditioning allows gradual drying. Certain cleaning products strip oils, accelerating dryness. Understanding causes helps prevent future occurrences while motivating regular maintenance.
Damage progression if untreated escalates from surface stiffness to structural cracking. Early-stage dryness manifests as reduced suppleness and lightened color. Moderate dryness shows surface checking - fine crack networks visible under magnification. Advanced dryness produces visible cracks compromising structural integrity and potentially proving irreparable.
Prevention through regular care proves far easier than restoration after damage occurs. Conditioning quality leather goods every 3-6 months maintains optimal moisture content preventing dryness problems. This simple maintenance requires minimal time investment - typically 10-15 minutes per item - while delivering substantial preservation benefits.
Step-by-Step Conditioning Process
Cleaning before conditioning removes surface dirt and oils potentially interfering with conditioner absorption. Use saddle soap or specialized leather cleaner applied with damp cloth, working in circular motions. Remove cleaning residue with clean damp cloth and allow complete drying before conditioning - typically 30-60 minutes depending on environmental conditions.
Product selection affects conditioning effectiveness significantly. Choose conditioners appropriate for leather type - vegetable-tanned leather accepts oil-based conditioners readily, while chrome-tanned leather benefits from emulsion-based products. Apply conditioner sparingly using soft cloth, working into leather with circular motions. Allow absorption (15-30 minutes) before buffing excess with clean cloth.
Frequency and maintenance schedules depend on usage patterns and environmental conditions. Leather goods carried daily in dry climates require conditioning every 3 months. Items used occasionally in moderate climates need treatment every 6 months. Heavy use or harsh conditions warrant more frequent conditioning. Establishing regular schedules prevents neglect while avoiding over-conditioning potentially softening leather excessively.
DIY Repair Technique #2: Fixing Minor Surface Damage
Addressing Scratches and Scuffs
Light buffing techniques resolve many superficial scratches without additional intervention. Rub scratched areas briskly with soft cloth, generating friction heat that redistributes surface oils and leather fibers. This technique works best on full-grain vegetable-tanned leather where natural oils remain abundant. Many scratches lighten significantly or disappear entirely through simple buffing.
Color restoration methods address scratches exposing lighter underlayers. Leather creams containing pigments can camouflage scratches on finished leather. Apply colored cream carefully with cotton swab, feathering edges to blend with surrounding areas. Allow drying before buffing gently. This technique proves effective for minor color disruptions but won't repair structural damage.
Distinguishing when damage adds character versus requiring repair involves subjective judgment. Light scratches, scuffs, and patina development often enhance leather's aesthetic appeal, creating unique character reflecting use history. Deep gouges, extensive scratching, or damage compromising functionality warrant repair attention. Understanding this distinction prevents unnecessary intervention while addressing genuine problems.
DIY Repair Technique #3: Restitching Seams
Understanding Saddle Stitch
Saddle stitching creates the strongest hand-sewn seams through specific technique using two needles and single thread. Each stitch passes through material from both sides simultaneously, creating interlocking pattern. If thread breaks anywhere, surrounding stitches remain secure - unlike machine stitching where single break compromises entire seam.
Thread selection affects repair durability substantially. Waxed polyester thread offers superior strength and rot resistance compared to cotton or nylon alternatives. Choose thread weight appropriate for leather thickness - heavier thread for belts and bags, lighter thread for wallets and card holders. Thread color matching proves less critical than strength characteristics for functional repairs.
Tools needed for restitching include two harness needles (blunt points prevent leather damage), thread length approximately 2.5x seam length, awl for creating holes if necessary, and scissors for trimming. These basic tools enable most stitching repairs without significant investment. Practicing saddle stitch technique on scrap leather builds confidence before attempting actual repairs.
Repairing Loose or Broken Stitching
Assessing stitch damage extent determines repair scope. Isolated loose stitches may only require tightening, while broken thread sections need complete replacement. Examine several inches beyond visible damage identifying all compromised stitching requiring attention. Addressing only obvious damage often results in adjacent failures shortly after repair completion.
Removing damaged thread sections involves carefully cutting and pulling old thread from stitch holes. Avoid enlarging holes during removal - original holes should accept new thread without modification. For leather types where holes close partially, an awl may be necessary reopening passages. Work methodically, removing all damaged thread before beginning replacement stitching.
Hand-stitching replacement technique follows saddle stitch principles. Thread both needles, position at damage endpoints, and work through existing holes creating interlocking stitches. Maintain consistent tension throughout - too loose creates sloppy seams, too tight puckers leather. This technique requires patience but produces repairs indistinguishable from original stitching when executed carefully.
Securing and finishing new stitching prevents future unraveling. After completing repair section, backstitch 2-3 stitches creating secure endpoints. Trim thread close to leather surface, leaving small tails. Some craftspeople apply small adhesive drops securing thread ends, though proper backstitching typically proves sufficient. The completed repair should feel solid when stressed gently.
DIY Repair Technique #4: Hardware Replacement
Common Hardware Failures
Snap deterioration occurs through repeated stress cycles gradually weakening spring mechanisms. Corroded snaps fail functionally even when structurally intact - oxidation prevents proper engagement. Quality brass snaps last decades, but zinc alloy hardware common in budget products fails within years. Snap replacement restores functionality completely when leather remains sound.
Rivet loosening develops as surrounding leather compresses or hardware works free through use. Loose rivets compromise structural integrity and accelerate surrounding leather damage. Setting replacement rivets requires specialized tools (rivet setter and anvil) but proves straightforward with proper equipment. Alternatively, some craftspeople substitute Chicago screws enabling tool-free installation.
Buckle wear or breakage affects belts primarily. Prongs bend or break, frames crack, and rollers fail. Buckle replacement proves relatively simple - most use standard attachment methods enabling straightforward substitution. Sourcing replacement buckles matching original size and style requires attention to measurements ensuring proper fit.
Replacement Process
Sourcing quality replacement hardware prevents repeated failures. Solid brass or stainless steel components outlast cheap alternatives dramatically, justifying modest price premiums. Online leather supply retailers offer extensive hardware selections. For common sizes, local craft stores stock basic components. Matching original hardware specifications ensures proper fit and function.
Removal techniques for old components vary by hardware type. Snaps typically pry free with careful leverage applied by flat screwdriver. Rivets require drilling out carefully - use bit slightly smaller than rivet shaft avoiding leather damage. Buckles often slide free from leather loops or fold back for removal. Work patiently preventing collateral damage to surrounding leather.
Installation methods for new hardware follow manufacturer specifications for each component type. Snap installation requires snap setter tools (affordable at $10-30) following specific sequences for male and female components. Rivets need proper support anvil and setting tools creating secure compression. Buckles reattach through leather loops or prong insertion. While slightly technical, hardware replacement ranks among more accessible advanced repairs.
When Professional Restoration Makes Sense
Complex Structural Repairs
Panel replacement requirements arise when leather damage exceeds repair capability. Torn panels, extensive cracking, or holes larger than stitching can address necessitate replacement. Professional craftspeople can source matching leather, remove damaged sections, and integrate new panels seamlessly. This work requires specialized skills and typically costs $40-100 depending on extent.
Complete reconstruction becomes necessary for severe damage or catastrophic failures. Wallets with failed interiors, bags with destroyed panels, or belts with extensive cracking may warrant complete rebuilding using salvageable components and new leather. These comprehensive restorations approach replacement costs but preserve broken-in fit, sentimental value, and original design.
Specialized equipment dependencies limit certain repairs to professional workshops. Industrial sewing machines handle thick leather more effectively than hand stitching for bag repairs. Skiving machines thin leather edges for panel integration. Edge beveling and burnishing equipment produces professional finishes. When repairs demand these capabilities, professional service proves necessary.
Finding Quality Leather Repair Services
Quality craftspeople demonstrate expertise through portfolios, certifications, or established reputations. Look for shops specializing in leather repair rather than general shoe repair services that may lack necessary skills. Review examples of previous work assessing quality standards. Established businesses with years of operation typically offer reliable service.
Questions to ask before committing include: What's your experience with this repair type? Can you provide examples of similar work? What's the estimated cost range? How long will repairs take? Do you guarantee your work? What happens if repairs fail? These questions reveal professionalism and capability while establishing clear expectations.
Expected costs and timelines vary significantly by repair complexity. Simple restitching or conditioning might cost $20-40 and complete within days. Complex panel replacement or reconstruction could run $80-150 and require 2-4 weeks. Discuss pricing and timing upfront preventing surprises. Quality craftspeople provide estimates before beginning work, communicating if unexpected complications arise.
Preventive Maintenance: Avoiding Future Repairs
Regular Care Routines
Cleaning schedules remove dirt and oils before they damage leather. Wipe quality leather goods weekly with slightly damp cloth removing surface contamination. Deep clean quarterly using saddle soap or leather cleaner, particularly for items experiencing heavy use or environmental exposure. Regular cleaning prevents buildup that accelerates wear and complicates eventual repairs.
Conditioning frequency depends on leather type, usage patterns, and environmental conditions. Most quality leather goods benefit from conditioning every 3-6 months. Items showing dryness signs (stiffness, lightened color, fine surface checking) need immediate attention and potentially more frequent conditioning moving forward. Establishing consistent maintenance schedules prevents neglect while avoiding over-conditioning.
Storage best practices protect leather during periods of non-use. Store items in breathable fabric bags or boxes - never plastic which traps moisture promoting mold. Maintain moderate temperature and humidity avoiding extremes. Insert acid-free tissue in wallets and bags maintaining shape. Proper storage prevents damage requiring repair while preserving leather characteristics.
Environmental Protection
Water exposure management proves critical for leather longevity. While quality leather tolerates occasional moisture, prolonged exposure or submersion damages material. Wipe wet leather immediately using absorbent cloth, allow slow air-drying (never heat sources), and condition after complete drying. Water damage prevention eliminates common repair causes.
Temperature and humidity considerations affect leather stability. Extreme heat dries leather rapidly, while high humidity promotes mold growth. Ideal storage conditions maintain 40-70% relative humidity and 60-75°F temperatures. While daily carry items experience varying conditions, avoiding prolonged extremes prevents accelerated aging and damage.
UV damage prevention protects leather color and structure. Direct sunlight degrades leather gradually through photooxidation - surface fading, brittleness, and eventual cracking. Store leather away from windows and limit sun exposure during use when practical. UV damage proves largely irreversible, making prevention essential for maintaining leather quality.
Building Repair Skills Over Time
Starting with Simple Projects
Practicing on less valuable items builds skills safely before attempting repairs on premium pieces. Thrift store leather goods provide inexpensive practice materials. Scrap leather from craft stores enables technique development without risking functional products. This practice approach builds confidence while developing muscle memory for repair techniques.
Learning from mistakes safely represents invaluable educational opportunity. Failed practice repairs reveal technique deficiencies without costly consequences. Understanding why repairs fail teaches lessons that successful repairs cannot provide. Embracing mistakes as learning opportunities accelerates skill development more effectively than avoiding challenges.
Gradually increasing complexity develops capabilities systematically. Master conditioning before attempting stitching repairs. Perfect simple stitching repairs before tackling complex structural work. This progressive skill building prevents overwhelming novices while creating competency foundation supporting advanced techniques. Patient progression yields better long-term results than attempting complex repairs prematurely.
Educational Resources
Online tutorials and videos provide visual instruction impossible through text alone. Platforms like YouTube host extensive leather repair content from basic conditioning to advanced reconstruction. Watching multiple creators covering similar techniques provides diverse perspectives improving understanding. Video resources enable pausing, rewinding, and repeated viewing supporting effective learning.
Books on leather repair offer comprehensive reference materials supplementing video instruction. Classic leatherworking texts cover fundamental techniques thoroughly, while contemporary guides address modern materials and methods. Building small reference library supports ongoing learning and provides troubleshooting resources when problems arise.
Community workshops and classes provide hands-on instruction with immediate feedback. Local makerspaces, craft stores, and leatherworking guilds often offer introductory classes teaching basic repair and maintenance. In-person instruction accelerates learning through real-time guidance, correction, and answering specific questions. These experiences build skills and confidence efficiently.
The Broader Fix-It Culture Movement
Repair Culture Benefits Beyond Leather
Skills applicable to other materials transfer naturally from leather repair training. Stitching techniques work for fabric repairs, tool usage translates to other crafts, and problem-solving approaches apply broadly. Learning how to repair leather goods develops general repair mentality applicable throughout life, reducing overall consumption and waste across product categories.
Sustainability principles across product categories mirror leather repair logic - maintain what you own, repair rather than replace, choose quality enabling longevity, and support businesses facilitating repairs. These principles guide consumption decisions for electronics, appliances, clothing, furniture, and tools. Leather repair serves as entry point for broader sustainable living practices.
Community building through shared knowledge strengthens repair culture's social dimensions. Repair cafes, skill-sharing workshops, and online communities connect people passionate about maintenance and longevity. These connections provide practical support while reinforcing values that consumer culture often undermines. Participating in repair communities builds both skills and social networks.
Supporting Businesses That Enable Repair
Brands offering repair services demonstrate confidence in construction quality and commitment to customer satisfaction. Companies providing free or low-cost repairs for defects show genuine quality commitment beyond marketing. Even paid repair services enabling product longevity reflect business models aligned with sustainability rather than planned obsolescence.
Lifetime guarantees signal ultimate manufacturer confidence in durability. These policies commit businesses to standing behind products indefinitely - economically feasible only when construction quality ensures minimal warranty claims. Supporting companies offering lifetime guarantees rewards responsible business models while obtaining products genuinely built to last.
Voting with dollars for repairability influences industry practices directly. Consumer demand for repairable, durable products creates market pressure favoring responsible manufacturers. Every purchase decision either reinforces disposable culture or supports businesses building products designed for repair and longevity. These individual choices aggregate into market signals driving industry transformation toward sustainability.
Conclusion
Embracing repair culture for leather goods preserves value, reduces waste, and builds practical skills while strengthening connections to possessions. Simple maintenance and basic repairs like conditioning, buffing scratches, and restitching seams prove accessible to anyone willing to invest modest time learning fundamental techniques. More complex repairs justify professional restoration costs that remain far less than replacement expenses.
The shift from throwaway mentality to stewardship culture represents practical environmentalism delivering measurable benefits. Every repaired wallet serving another decade prevents manufacturing impact, resource consumption, and landfill waste that replacement generates. These avoided impacts multiply across millions of consumers embracing repair over disposal.
Lost Dutchman Leather builds products specifically designed for repair and maintenance - full-grain vegetable-tanned leather that responds well to conditioning, hand-stitched construction enabling selective repairs, and quality hardware permitting replacement. Start with basic maintenance on quality leather goods and discover how simple care extends service life dramatically.
Ready to embrace repair culture and protect your leather goods investment? Explore products built for longevity and discover maintenance techniques ensuring decades of reliable service. Need guidance on specific repair issues or questions about leather care? Contact us - our craftsmen understand leather repair intimately and offer advice helping you maintain leather goods successfully for years to come.