
Restoring Vintage Leather Wallets & Belts the Right Way
A well-aged wallet or belt carries more than function; it carries history. The creased leather, softened edges, and faint scent of aged hide speak of years of use, travels taken, and lives lived. Whether it’s your grandfather’s wallet, worn smooth by decades of daily carry, or a belt found in a secondhand shop, restoring it is more than upkeep; it’s honoring craftsmanship.
Learning how to restore a leather wallet or belt the right way means respecting the past, preserving quality, and ensuring that these objects continue their journey with strength and beauty. For collectors and enthusiasts, restoration is also a form of leather aging documentation, a way to record and celebrate the transformation of authentic full-grain leather across decades.
The Cultural and Emotional Value of Restoration
For centuries, leather goods were built to last. In an era before disposable fashion, a wallet or belt was expected to endure a lifetime of use. Restoration was part of ownership. Families passed down well-cared-for items, often alongside stories.
Heritage in Every Crease
-
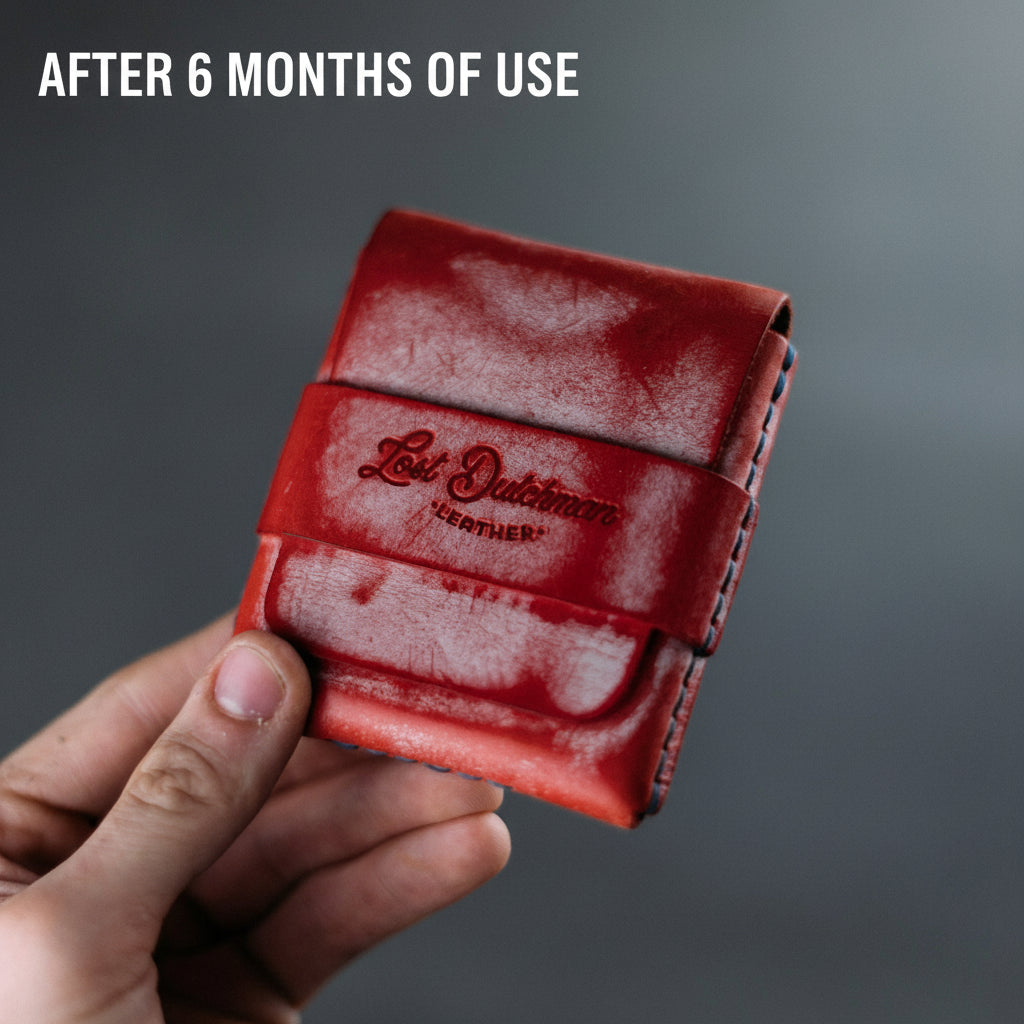
A wallet with faded card slots shows years of steady use.
-
A belt darkened by sunlight and softened by labor reveals both resilience and loyalty.
-
Marks, scratches, and fading are less “damage” than chapters.
Restoring leather doesn’t erase those stories. Done right, it highlights them, preserving scars, softening cracks, and returning flexibility so the item can serve another generation.
Preparing for the Journey: Supplies You’ll Need
Restoration starts with the right tools. Think of it as preparing a craftsman’s bench before beginning.
Essential Supplies for Restoration:
-
Soft microfiber cloths (gentle on surfaces).
-
Mild soap (like saddle soap or fragrance-free hand soap).
-
Leather cleaner (optional, for stubborn dirt).
-
High-quality leather conditioner (with natural oils/waxes).
-
Leather filler (for small cracks/scuffs).
-
Leather dye/polish (for faded or discolored leather).
-
Applicator sponges or soft brushes.
-
Fine-grit sandpaper (only for blending filled cracks).
Set up a workspace that is clean, dry, and well-ventilated. Avoid direct sunlight or heaters; controlled conditions are key to safe restoration.
Step One: Gentle Cleaning
Before you can restore a leather wallet or belt, dirt and residue must be removed.
-
Dry dusting – Use a soft brush or microfiber cloth to remove surface dust. Pay attention to stitching, folds, and creases.
-
Mild soap solution – Mix a tiny amount of soap with lukewarm water. Dampen (not soak) a cloth, wring it nearly dry, then wipe the leather in small sections.
-
Rinse with a damp cloth – Remove soap residue with a clean, slightly damp cloth.
-
Air dry – Place in a shaded area. Avoid hairdryers or heaters, which can crack the leather.
This step resets the surface, preparing it for nourishment.
Step Two: Deep Conditioning
Conditioning is the soul of restoration. Leather is skin; it needs oils to remain supple. Over the decades, those oils evaporate. Conditioning restores life.
-
Choose wisely – Look for conditioners with natural ingredients like beeswax, lanolin, or plant-based oils.
-
Test first – Apply on a hidden section to check for color change.
-
Apply evenly – Use a sponge or cloth to massage conditioner into the surface with circular motions.
-
Rest & absorb – Let the leather “drink” for at least 30 minutes, or overnight for very dry items.
-
Buff – Wipe with a soft cloth to remove excess and reveal a soft, natural sheen.
Products like the Catch-All tray or Limited Leather Coasters respond beautifully to conditioning, too, making them not just functional, but long-term companions.
Step Three: Repairing Marks and Damage
Vintage leather often carries scars. Some should remain as part of its story, but deep cracks or weakened areas benefit from repair.
Using Leather Filler
-
Clean and dry the area.
-
Apply a thin layer of filler with a palette knife.
-
Smooth evenly, then let it dry completely.
-
If necessary, gently sand for a seamless finish.
-
Condition after repair to restore consistency.
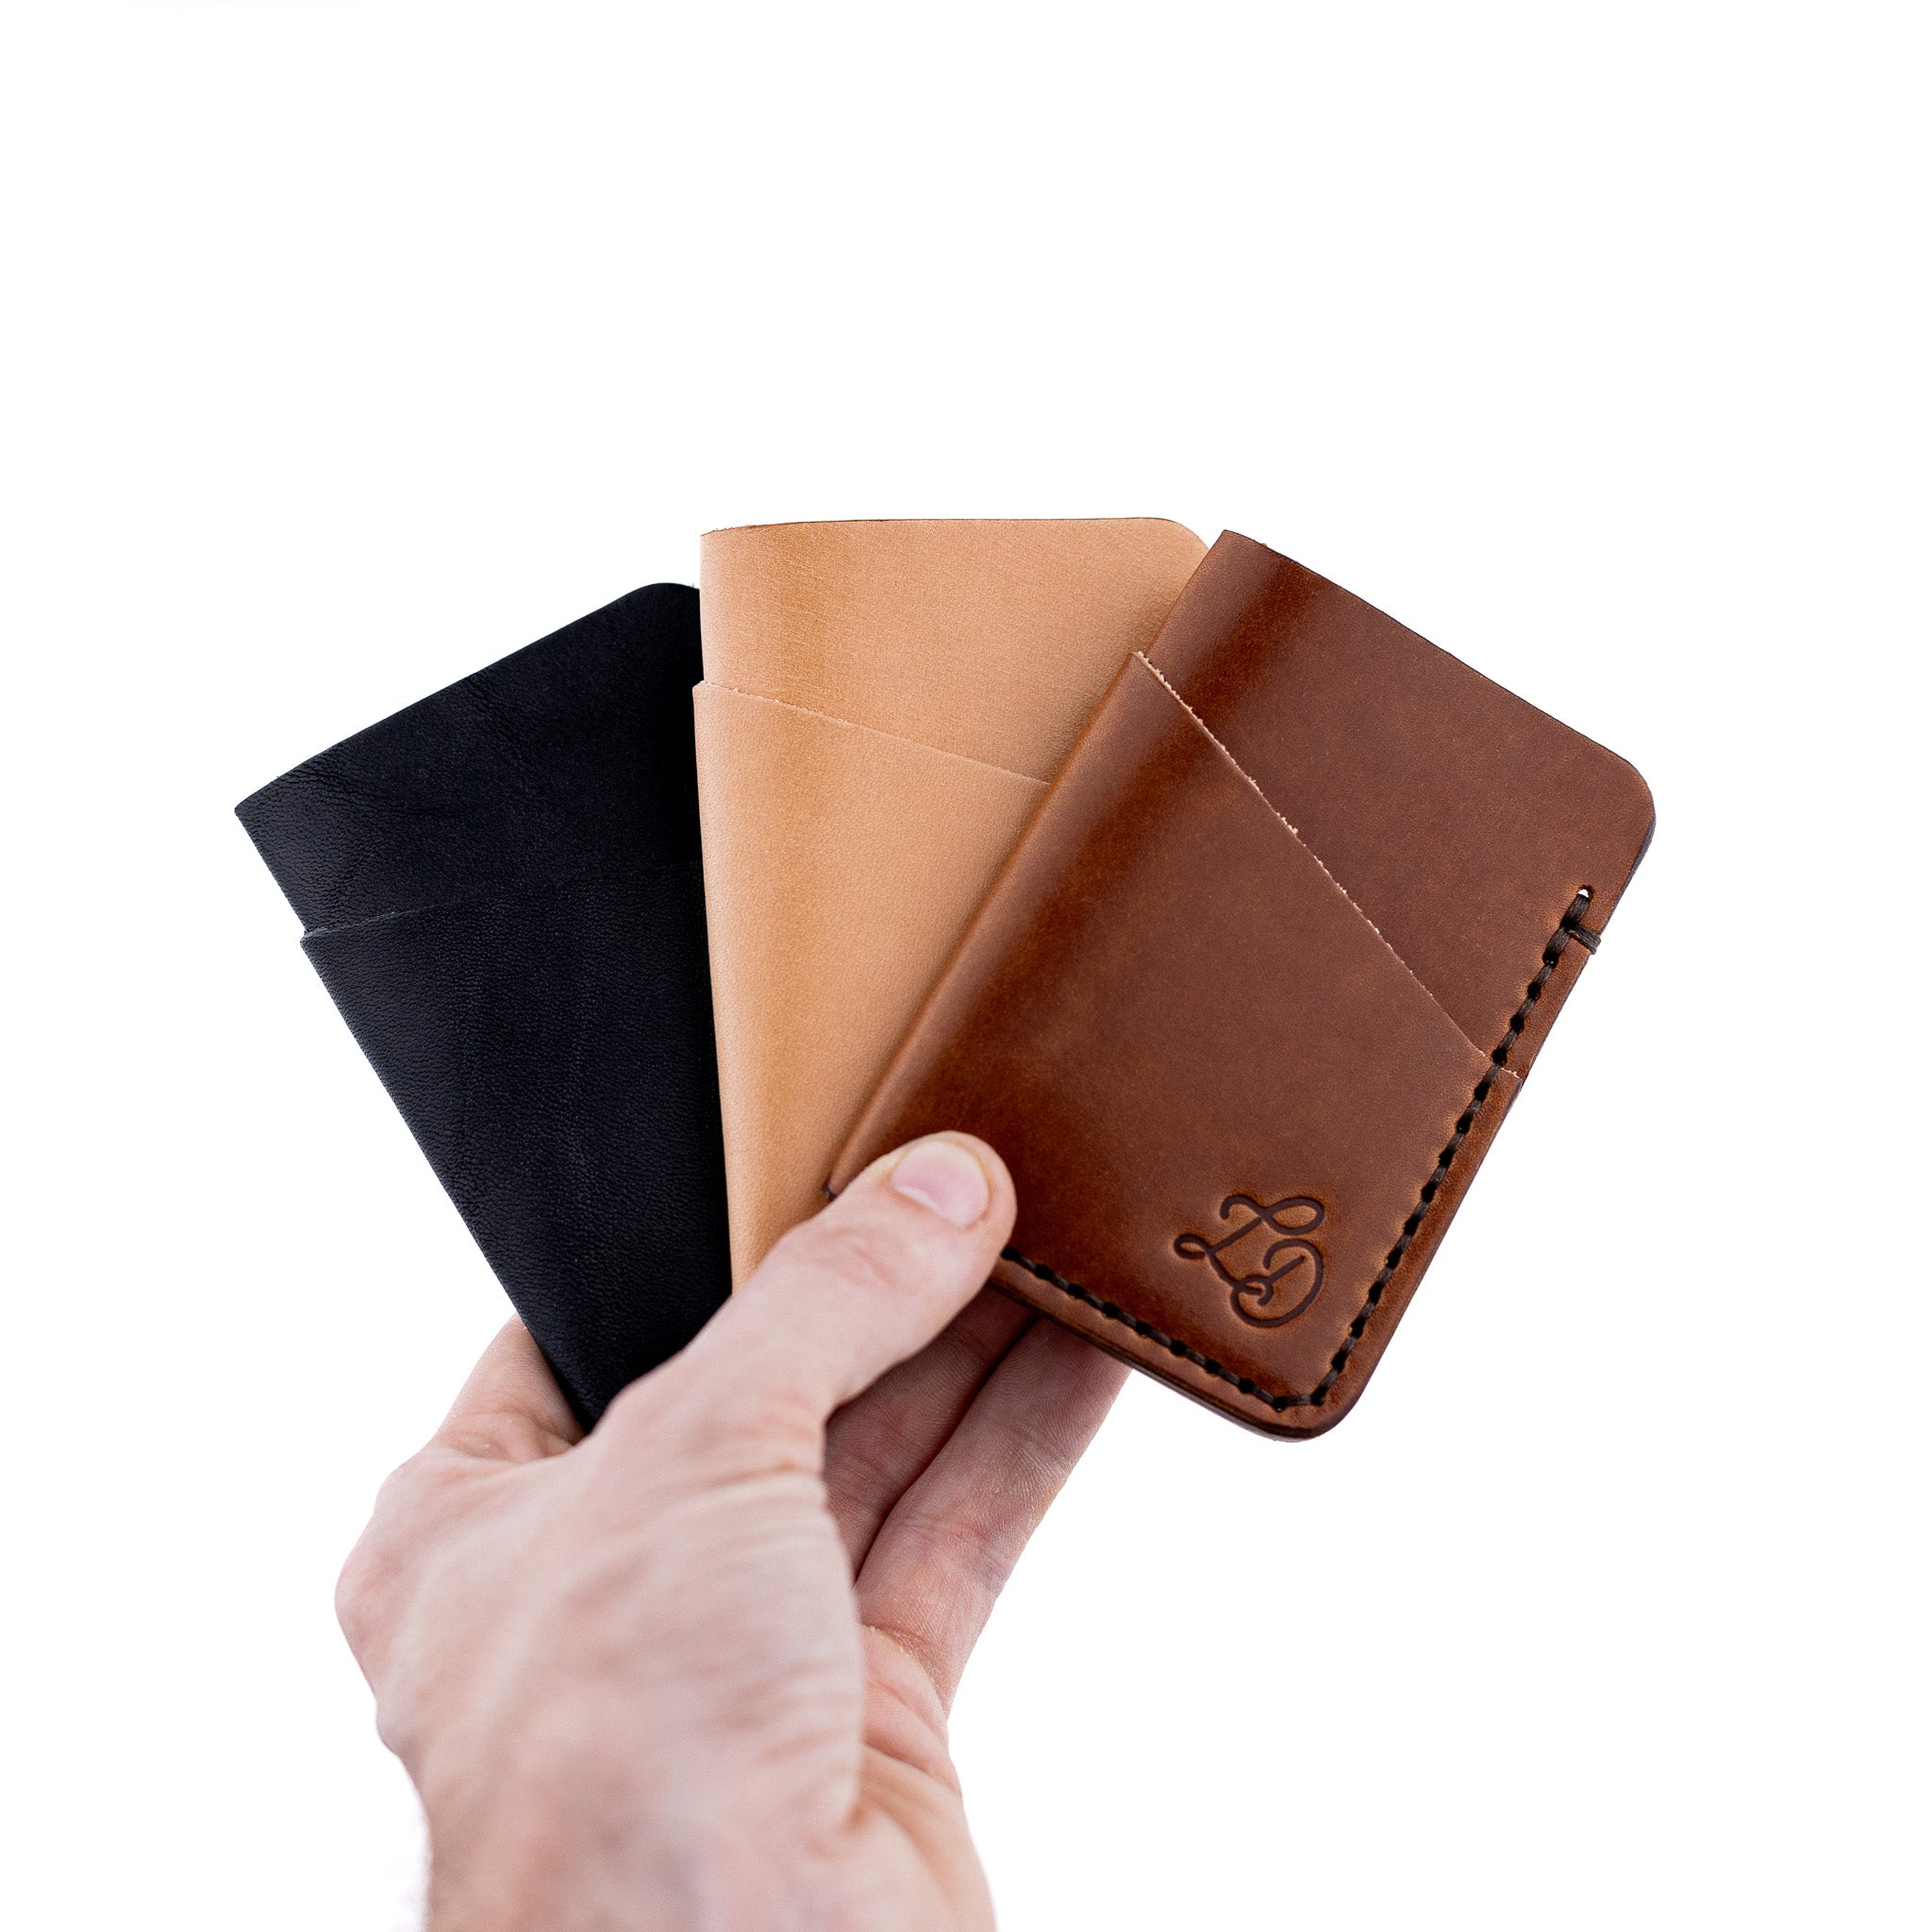
For instance, a vintage wallet similar in build to The Franklin may have softened corners or cracked folds, perfect candidates for filler and conditioning.
Step Four: Restoring Color
Leather often fades with sunlight and time. Restoring color renews vibrancy without erasing patina.
-
Select a dye/polish close to the original color.
-
Apply sparingly with a sponge or cloth in thin layers.
-
Allow each coat to dry before adding another.
-
Finish by buffing with a soft cloth.
Color restoration is especially rewarding for belts like The Belt, where surface fading can be corrected while leaving natural patina intact.
Step Five: Protection and Long-Term Care
Once cleaned, conditioned, and restored, vintage leather thrives with regular care.
-
Condition every 3–6 months – Prevents drying.
-
Store carefully – Keep in cool, dry spaces. Use trays like the Catch-All to avoid scratches.
-
Avoid extremes – Direct sun and heat accelerate damage.
-
Rotate usage – If you own multiple wallets or belts, give each rest periods.
This ongoing care is its own form of leather aging documentation, a commitment to ensuring your item continues to tell its story.
When to Seek Professional Help
Some projects go beyond DIY. If you’re unsure, consult an expert.
Professional restoration is best for:
-
Torn leather with missing sections.
-
Severe cracks across large areas.
-
Rare or highly valuable heirlooms.
-
Antique pieces with historic or collector’s value.
If in doubt, reach out. At Lost Dutchman Leather, we encourage owners to contact us when considering advanced restoration or custom work.
Restoration as Sustainability
Restoring leather is not only heritage, but it’s also sustainability. Every vintage wallet or belt brought back to life is one less object discarded, one less landfill addition. It reflects the buy-it-for-life philosophy: investing in quality and maintaining it for decades.
This is the opposite of fast fashion. Instead of cycles of replacement, restoration respects craftsmanship. A restored piece, whether a wallet, belt, or lanyard, becomes proof that longevity and style can coexist.
Documenting Restoration: Leather Aging Documentation
Just as patina deserves to be recorded, so does restoration. Photograph your project before, during, and after. Notes about the products used, the condition before restoration, and the timeline make your project part of a larger leather aging documentation archive.
Imagine showing your children not only the restored Dutchman wallet, but also the photos of how you revived it. That story, paired with the restored piece, is a legacy in itself.
A Labor of Love
Restoring a vintage wallet or belt is more than maintenance. It’s a craft. It’s continuity. It’s keeping the past alive while preparing an object for the future.
Each step, cleaning, conditioning, repairing, coloring, and protecting, is part of an act of preservation. Done with care, the result is an heirloom reborn, ready for decades more use.
At Lost Dutchman Leather, we believe in this cycle of life for leather goods. Our products are designed to last, and when given the same care vintage items deserve, they become timeless companions.
